Vintage RVs for the rest of us...
Alright, well now that I have roof that will not collapse under my weight…(I hope)…I have started the install of the new roof vents. This is a fairly minor project, but I was happy to be able to g…
Alright, well now that I have roof that will not collapse under my weight…(I hope)…I have started the install of the new roof vents.
This is a fairly minor project, but I was happy to be able to get the roof sealed from all of the known leaks!
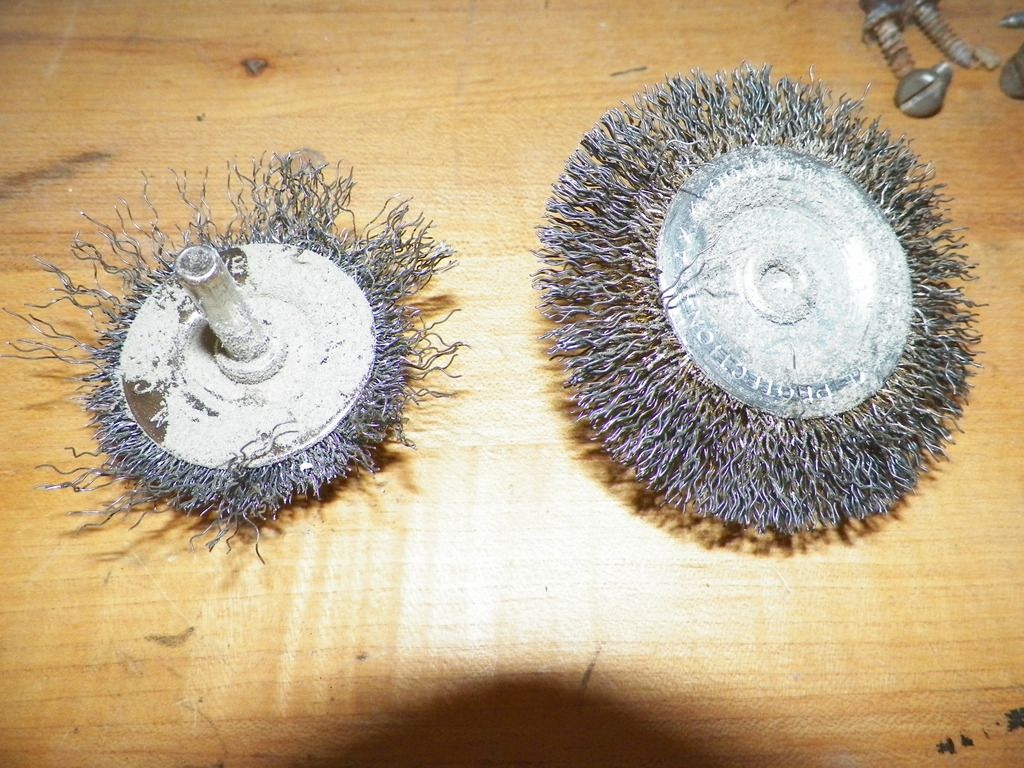
The biggest time saver I can recommend after doing several jobs now where I had to get to clean metal to ensure adhesion…it use a wire brush on a drill attachment (or something similar), this ended up being the fastest way to clear off all the dirt, rust, old sealer etc…
Here is what I used, before and after:
Ok, on to the install, the steps are simple, but they may vary from RV to RV, but they should be pretty universal…
1) Clean off the old sealant
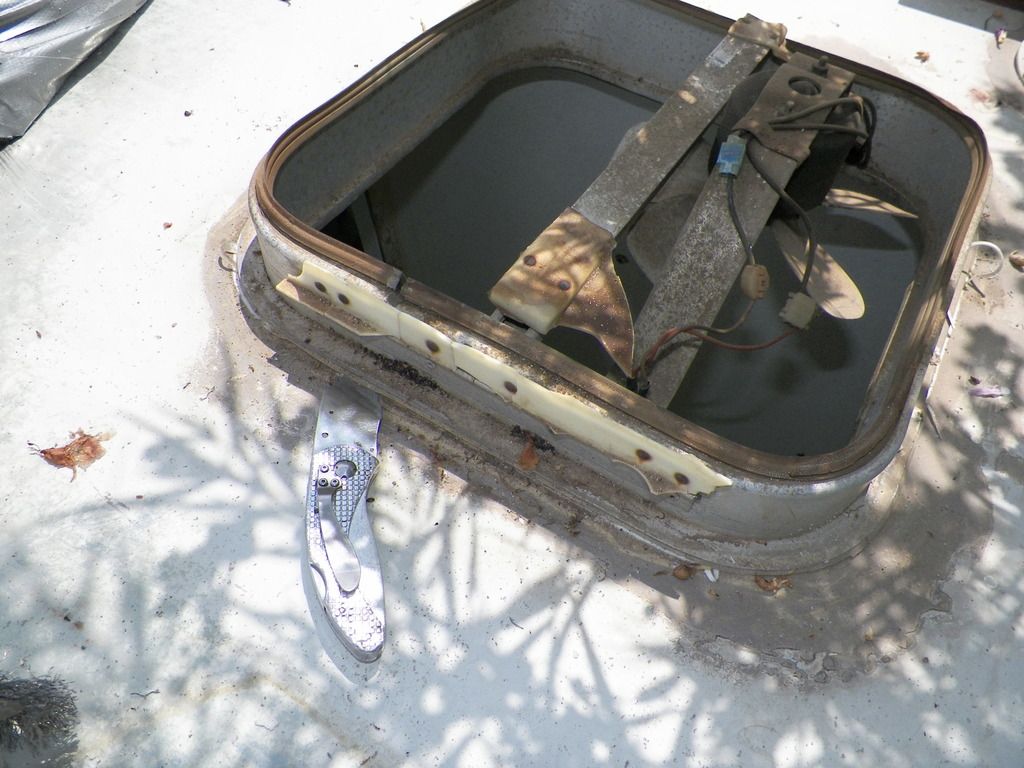
2) Remove the old vent
- Cut under the edge with a razor knife to loosen
- Slide a sparkling knife (flexible seemed to help) and lift to pry the old vent off
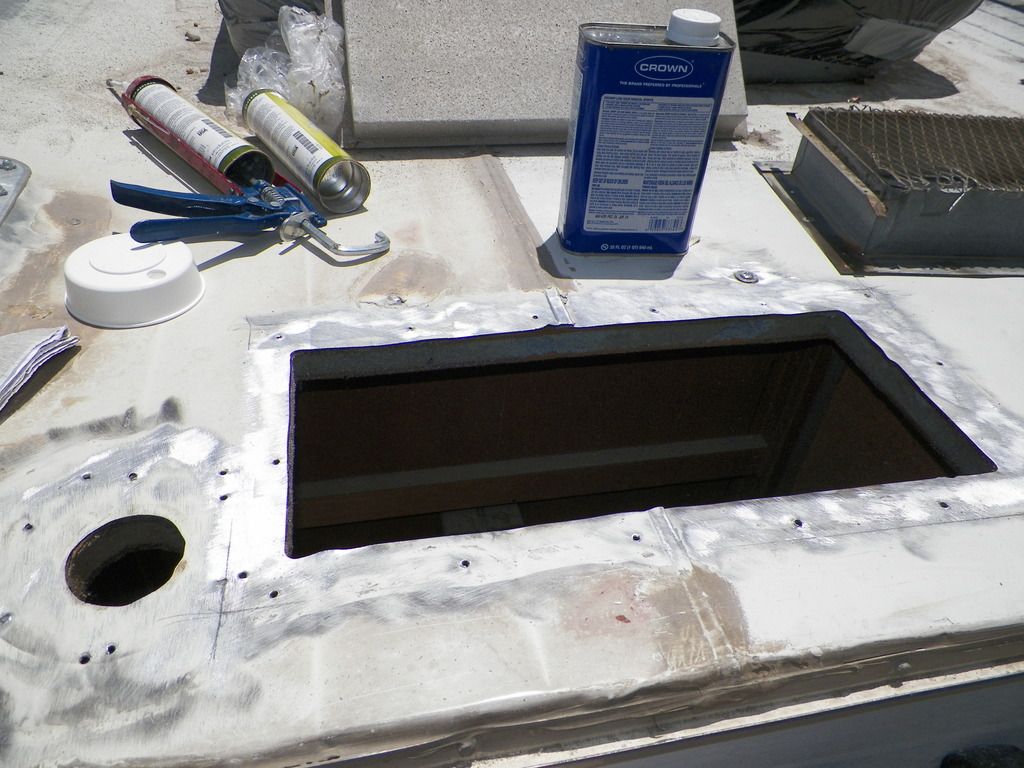
3) Clean opening
- (cover the hole with cardboard or the like from the inside if you don’t want your interior filled with stick particle)
- Use the wire brush to remove the old sealant
- Wipe the cleaned area with mineral spirits or the like
4) Install new vent
- Screw the new unit down with the provided screws
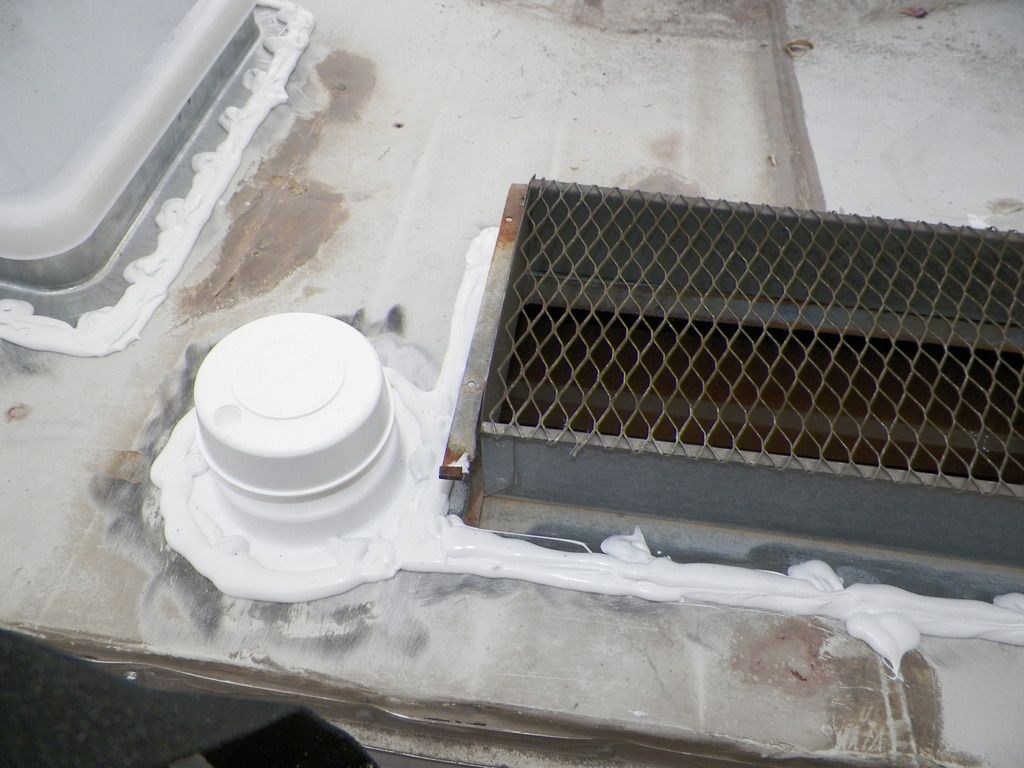
5) Seal
- Self-leveling sealant worked great for me
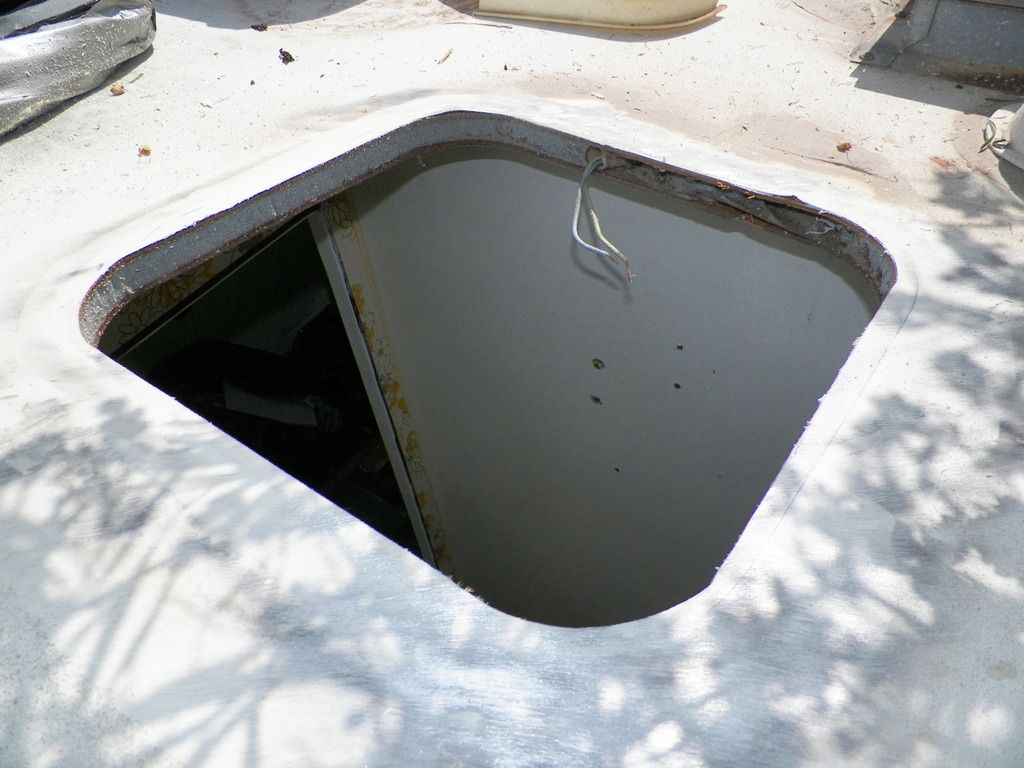
In my case, I had to add in the step of cutting a new hole for the overhead vent since I had installed a new roof panel.
I simply cut a hole in the panel by using the opening in the metal as a guide, drilling holes in the corners and inserting a saber saw to cut the opening, being careful to miss the wiring I built into the panel.
Once I had the hole cut I just followed the steps above from step #3.
For the rest of the vents, it was steps #1-5.
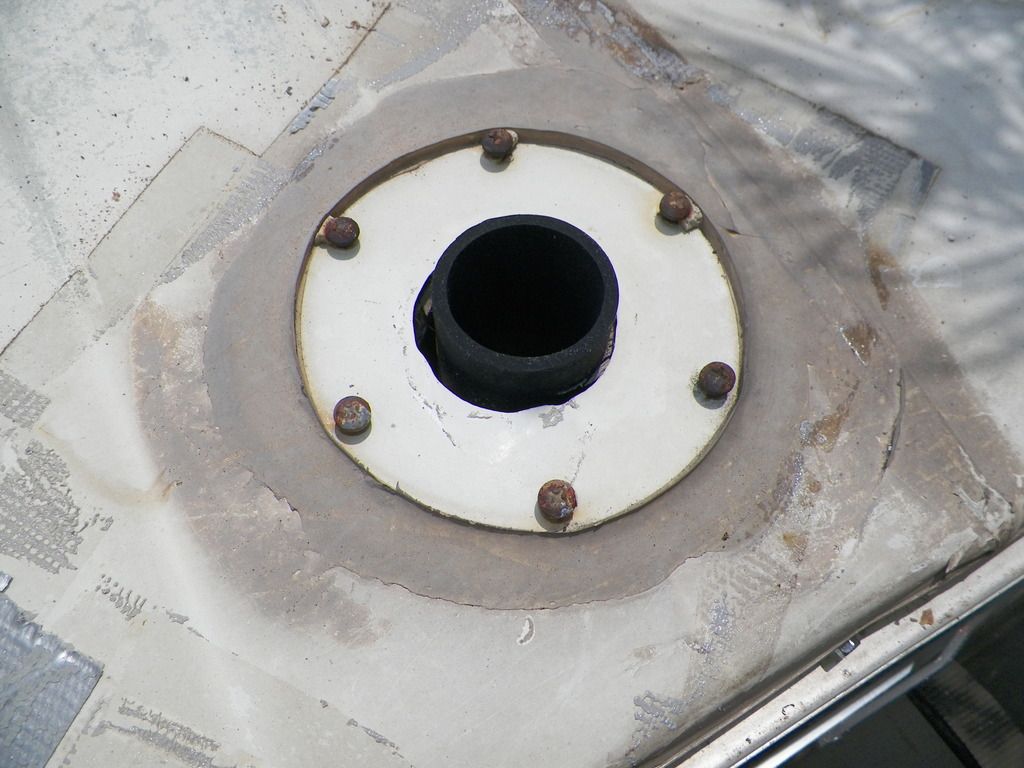
Missing toilet vent… just need to clean:
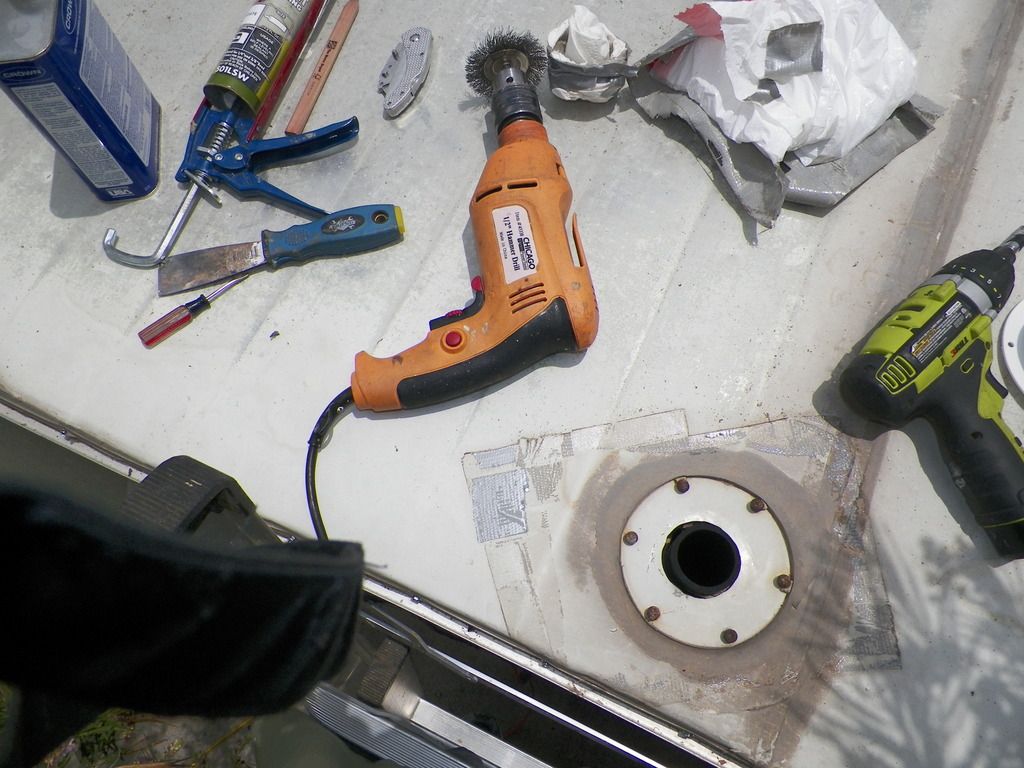
Tools of the trade:
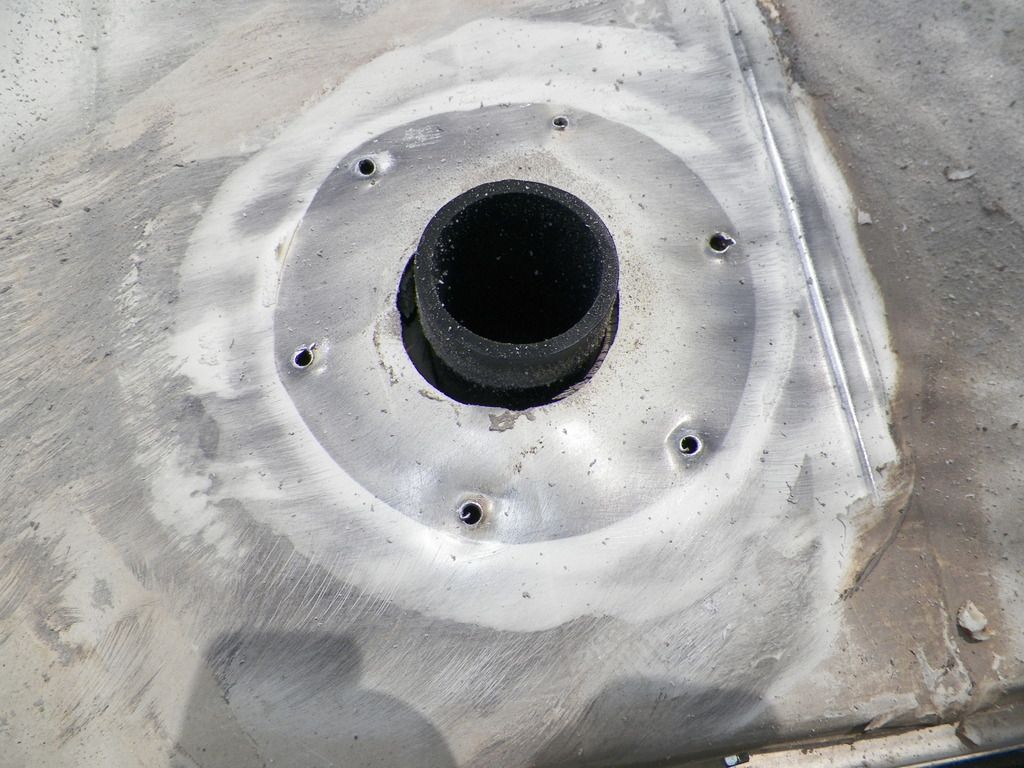
Cleaned:
Cutting loose the old shower vent fan old:
Cleaned:
Opened edges more to install new fan:

More vents:

All Cleaned up:
After several hours cutting, scraping and cleaning the openings, the rest of the install was quick!
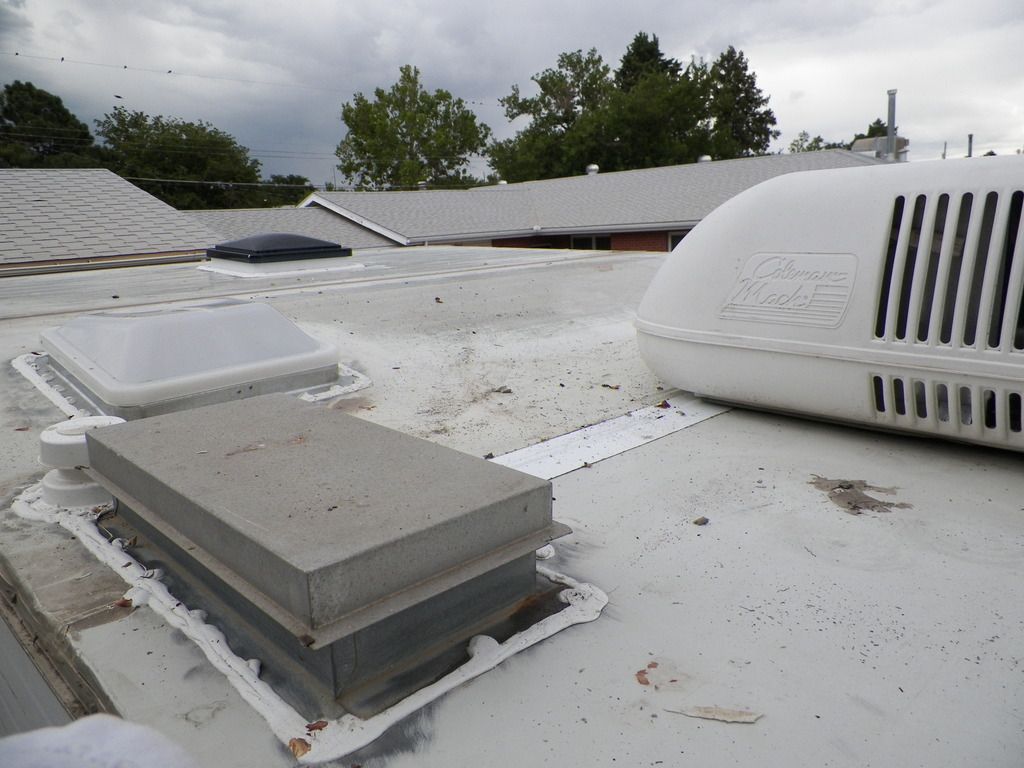
Finished pictures:
Roof is already dirty again by the time it all dried due to nearby tree, Good for shade... bad for clean roofs!
Inside... before trim installed!
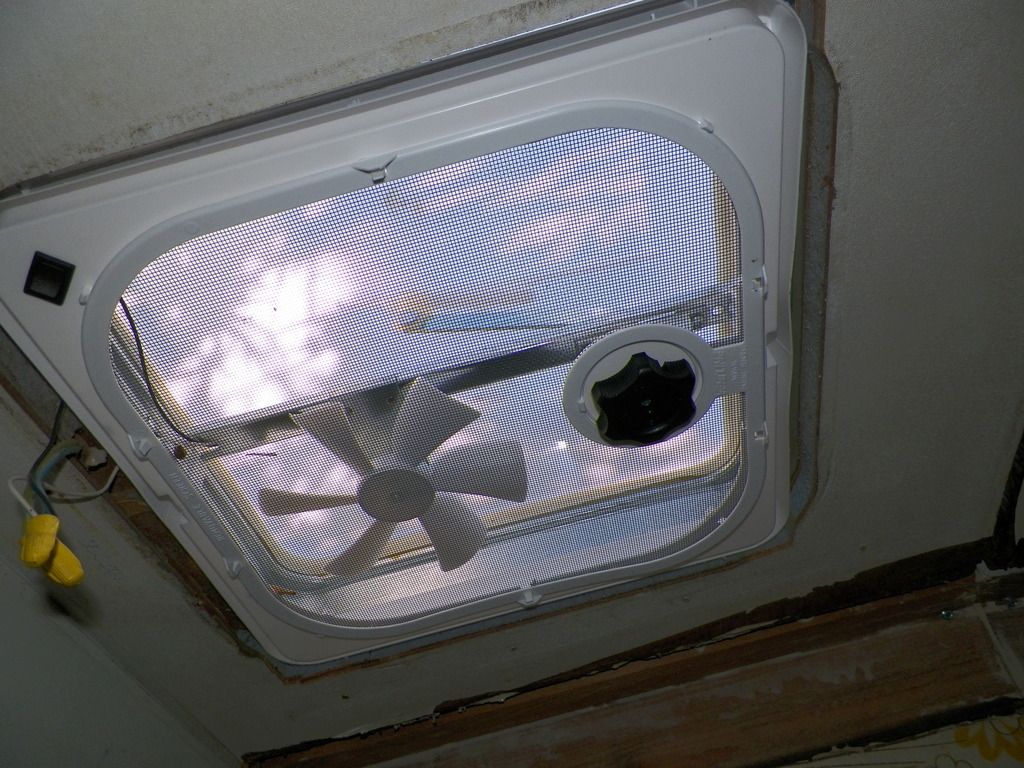
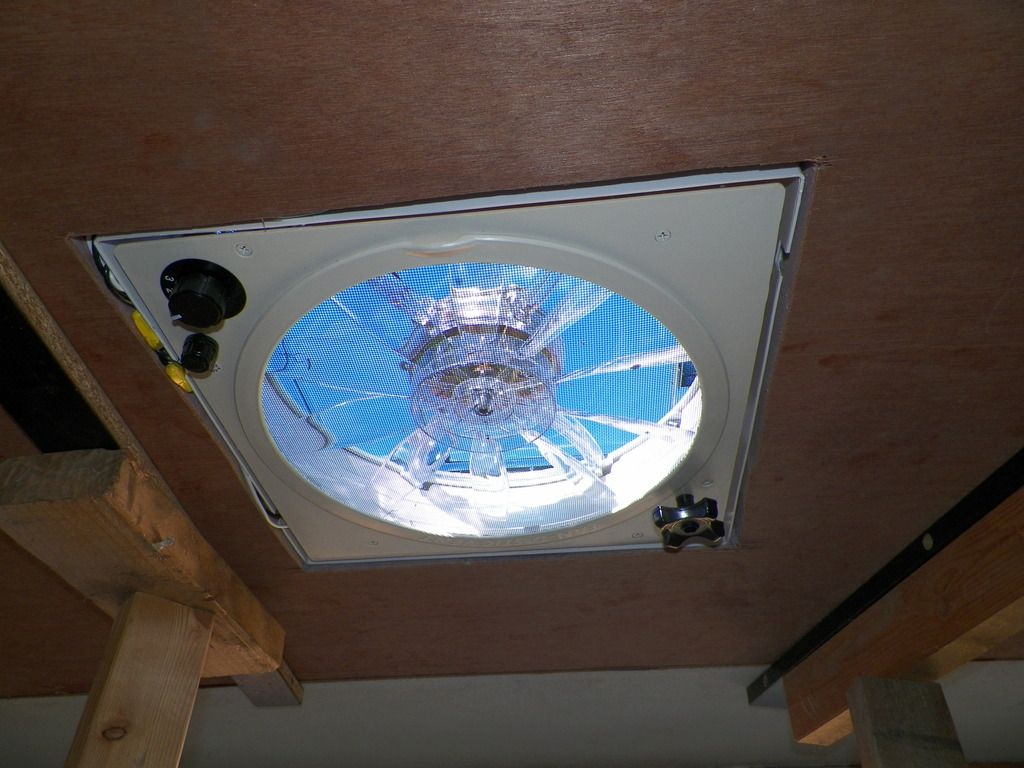
Ok, the roof officially has no more openings!
Notice I said “no more openings” not “no more leaks”
I still plan to seal the whole roof with EDPM roofing at some point to make sure that there are “no more leaks”, but this is a good start.
Views: 147
Comment
-
Comment by david craft on July 24, 2015 at 11:44am
-
i had a customer come on the lot one time. he had a home made refer vent lid just like yours...a real work of art. the 3 rib lid it came with was no longer available. before he said a word I said...your fridge aint workin'. he said "how did you know?" I said that vent wont move air and the core runs too hot. at 210 in the boiler chamber the sodium chromate will crystalize. new core or new fridge. unwanted maybe but not unwarranted...you need to fix your vent.
-
Comment by Rich Thomas on July 23, 2015 at 11:01pm
-
Well Brett I think Lakota answered the question for both of us. I really like the way yours looks. It's tucked in nicely. I think it's a go for me, thanks again for sharing and thanks Lakota for your input on the fan.
-
Comment by Brett Webb on July 23, 2015 at 10:09pm
-
Rich,
I cannot comment on the fan functionality yet, I have not restored DC power. I have several parallel project going including relocating the "power center". I wired up the 110 AC temporarily to test the A/C unit installation, but every DC light and connection is in flux at the moment :)
Lakota,
Thanks for the comments, your description of the fans makes me look forward too getting the connected to get a breeze going when the A/C is not needed...
-
Comment by Lakota Wolf on July 23, 2015 at 12:52pm
-
Awesome job..... Thanx for the pictures,,, it details what your doing. I love my electric fans,, they are thermostat controlled, kick on and off at predetermined setting, or just click on low,med,or high, (wife calls it tornado setting), And being reversable, a big plus,, if ya catch the bacon on fire in the frying pan, it can expell the smoke rather quickly. (dant ask me how I know this,lol, ).
Again.. Great job on the work,, Now your going to be spoiled with the fans.
-
-
Have you tried out the fan you put in the new section, I've been thinking of installing one in the palace. I have three vents with only the bathroom having a fan. I was wondering how much air it pulls and how quiet it is. Very nice pictures by the way and excellent advice. Thanks very much for sharing.
HOW TO MEMBER POSTS
JOIN US AT GOOD OLD RVS
If you love classic and vintage RVs then come Join us. Come on in and have some fun. JOIN HERE NOW
Forum
1973 Scamper Class C electrical question 1 Reply
Started by Ken Vanderburg in RV Repair & Maintence. Last reply by Jimco_W001 Mar 29.
Starcraft Ceiling Repair
Started by Donald Morgenroth in RV Repair & Maintence Mar 18.
Replacing controller ,? And inverter 1 Reply
Started by Dave King in Vintage & Classic RV Restoration & Purchase. Last reply by Rick Cornell Apr 27, 2023.
Blog Posts
1973 Dodge Hall GTC
Posted by Alfonso Vilches on July 7, 2023 at 8:18pm
Parts for a 1978 Allegro Motorhome
Posted by Ellen (Ellie) Rice on December 9, 2022 at 6:24pm — 1 Comment
Wanted side lights
Posted by David & Misty Preciado on June 10, 2022 at 6:18pm — 2 Comments
1991 Beaver Contessa
Posted by John Curtis on March 5, 2022 at 11:00am
Events
Videos
-
Men Don't Cry, They Act
Added by Jimco_W001
-
-
Tin Can Tourist Rally 2021
Added by Daniel Long
JOIN US - COME ON IN!
Members Restoration ALBUMS & Stuff We Like
-CLASS C FULL Frame off Restoration by Kevin Crowley
-Kerry Malseed's 1947 Flxible Clipper Bus Restoration
-Kevin's Wildcat Trailer Frame Up Restoration & Materials Used
-Rod Paints His Trailer Before/After Pics
-Understanding Brake Controllers
Blogs, Posts and Other things We like to Follow....
Vintage Travel Trailers, Vintage Campers, Camper Restoration, Bus Conversions, Vintage RV Forums, Old RVs, Tiny Homes, Boondocking
A work of art by member Paige Bridges
+++++++++++++++++++++++++++++
Disclaimer - Please Read it
Enjoy this site and use it totally at your own risk.
By using or viewing this site YOU agree to Hold Harmless anyone associated with it including other members. Also, YOU agree that YOU are solely responsible for ANY and ALL actions, results or damages. Members "opinions" are just that and any repair or alteration comments or recommendations are by folks who are not licensed repair or mechanical professionals. Any repairs or modifications you do totally at YOUR OWN RISK. Use licensed professionals for all work to avoid possible serious injury or damage. Use banks for purchases. Have fun!
Copywrite & Trade Mark Registered GoodOldRV© ,GoodOldRVs©, GoodOldRVs.com©,GoodOldRVs.net©,GoodOldRV.Com©
© 2024 Created by Jimco_W001.
Powered by
![]()
You need to be a member of Good Old RVs to add comments!
Join Good Old RVs