Vintage RVs for the rest of us...
So, I have started with the repairs on the wall/roof area… I debated on several different repair techniques before starting but I ended up deciding to cut out the bad area and install wood for reinf…
So, I have started with the repairs on the wall/roof area…
I debated on several different repair techniques before starting but I ended up deciding to cut out the bad area and install wood for reinforcement rather than duplicating the standard construction techniques.
Since I did not have a way to screw in the 2X4 from the outside I decided on good old liquid nails to hold the wood in place against the outer skin.
The roof/trim securing screws were removed and the lumber glued into place, then the screws were re-inserted into the wood, clamping it while it dried, they are still in place and the next day the entire area was much sturdier!
Here are a few pics of the work:
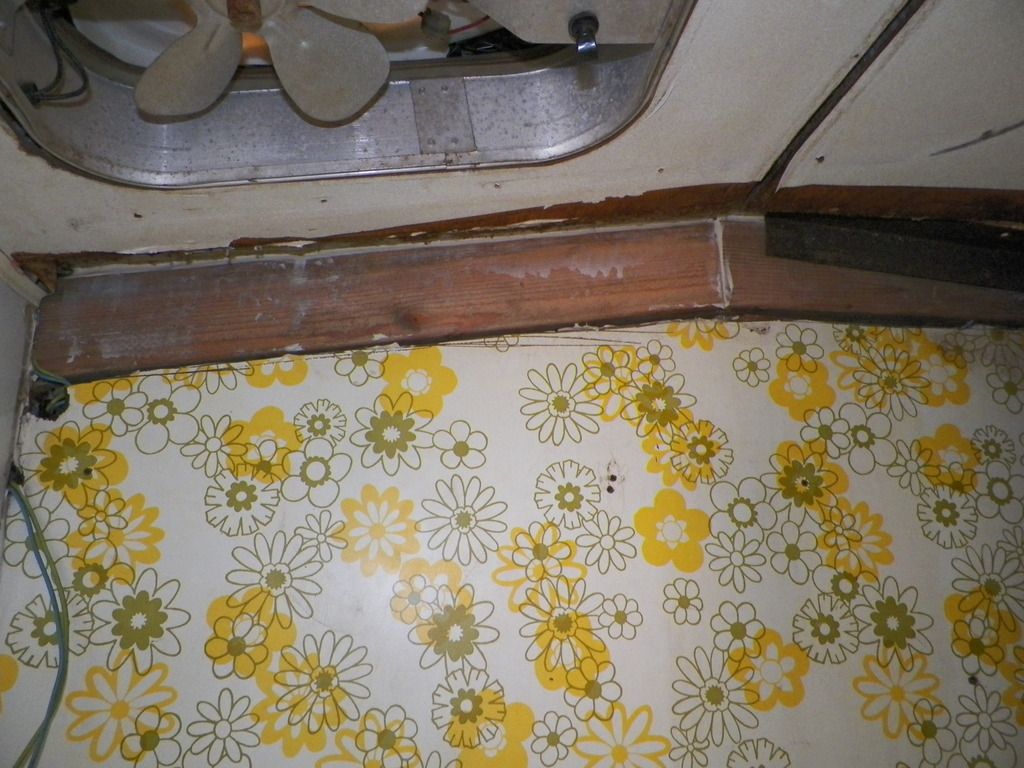
Before
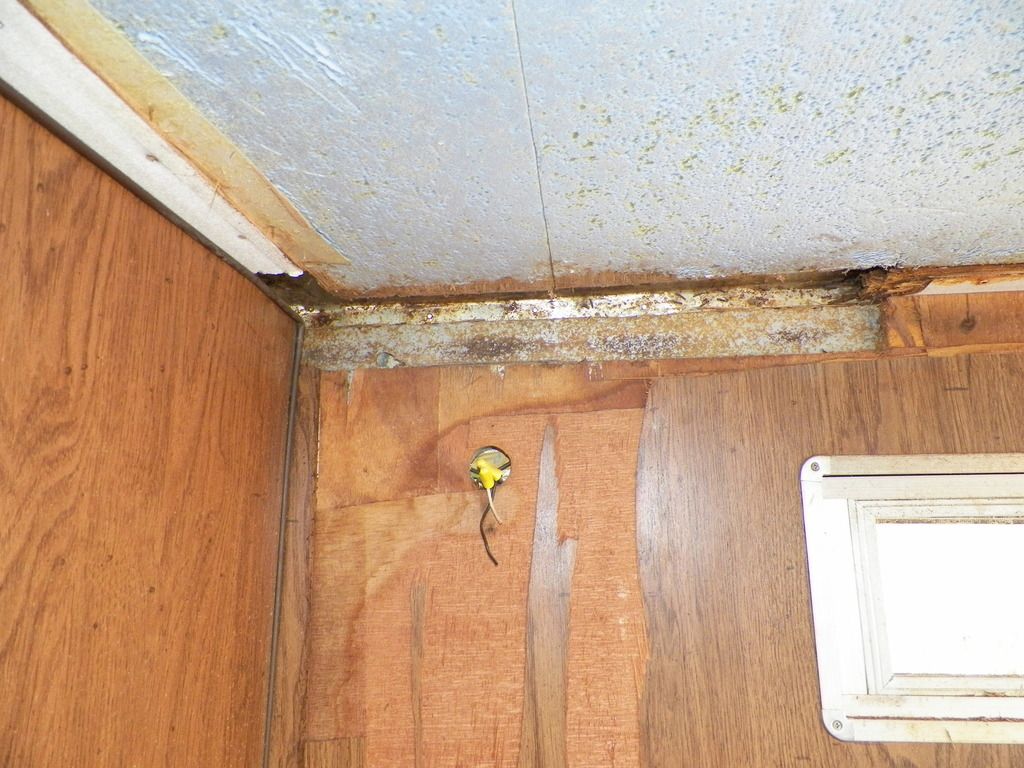
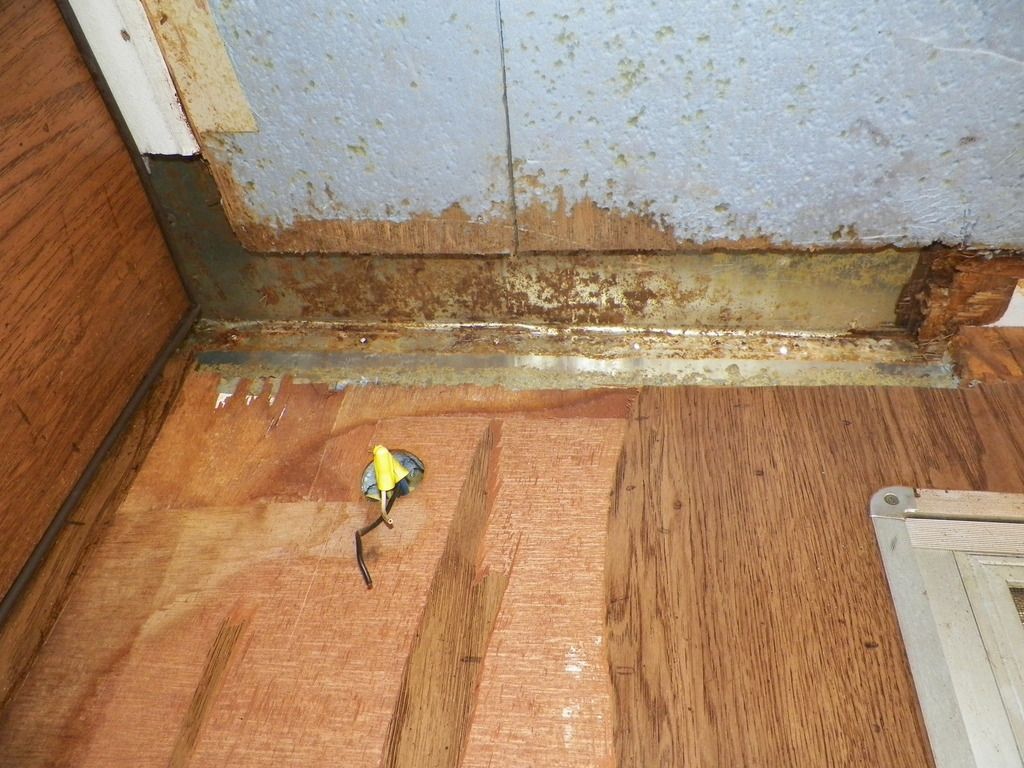
Overhead bunk wall after
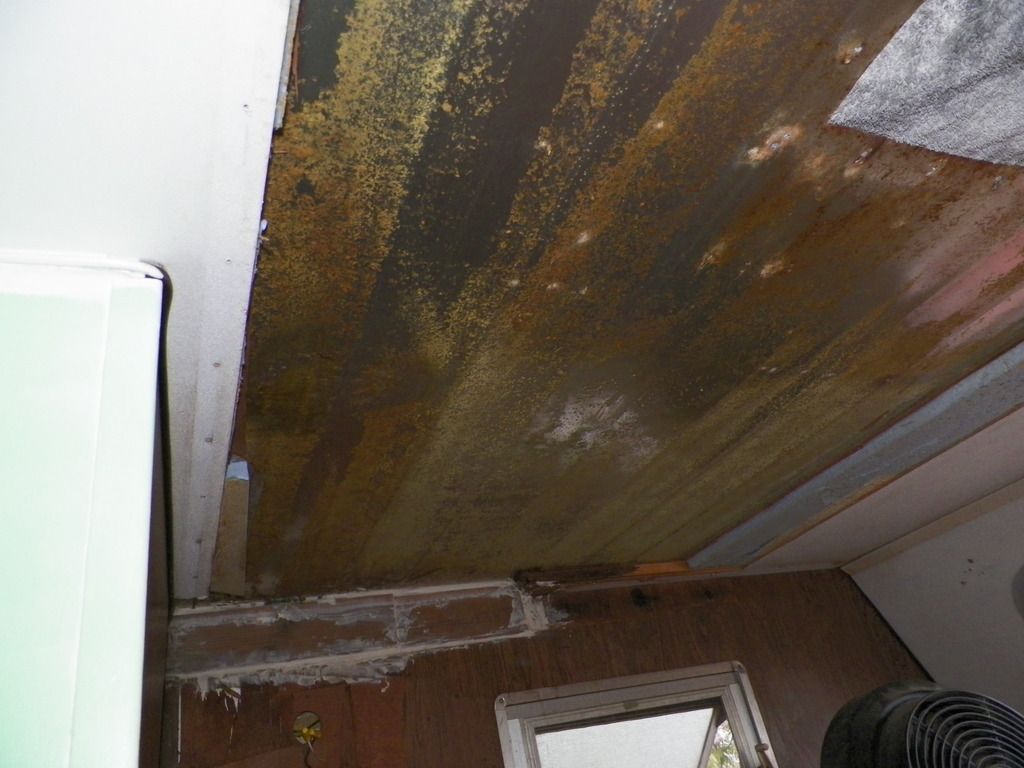
Bathroom wall before
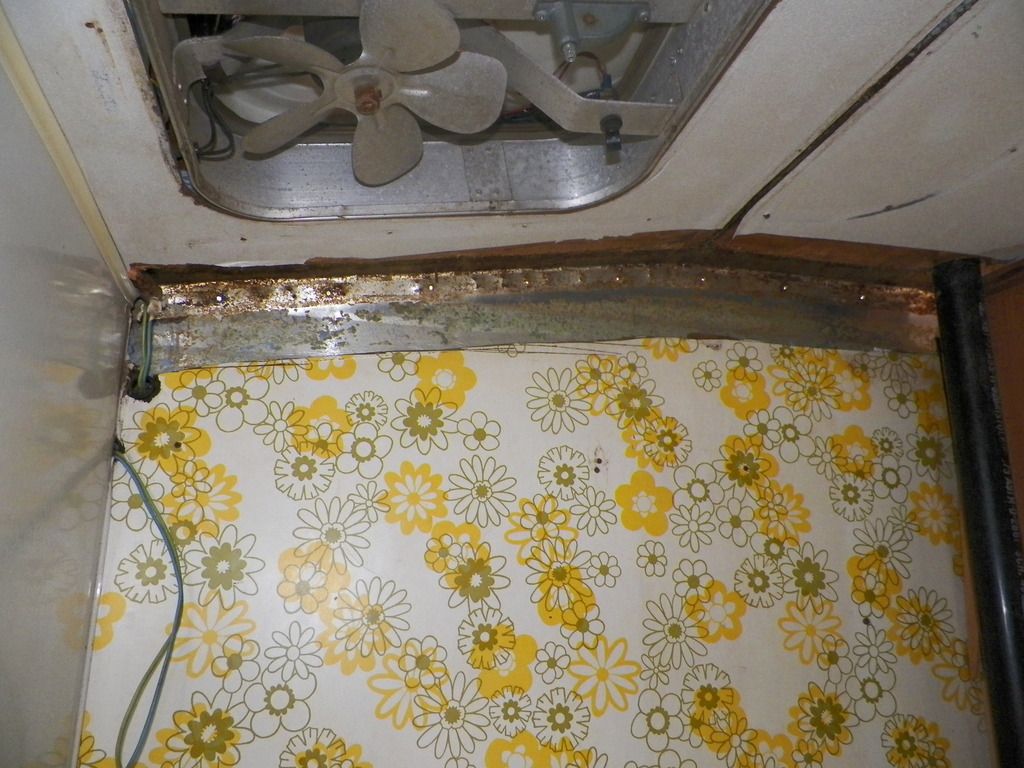
Bathroom wall after
I started testing adhesives for creating roof panel… I had read conflicting reports of what worked and what did not, so I just wanted to test for myself.
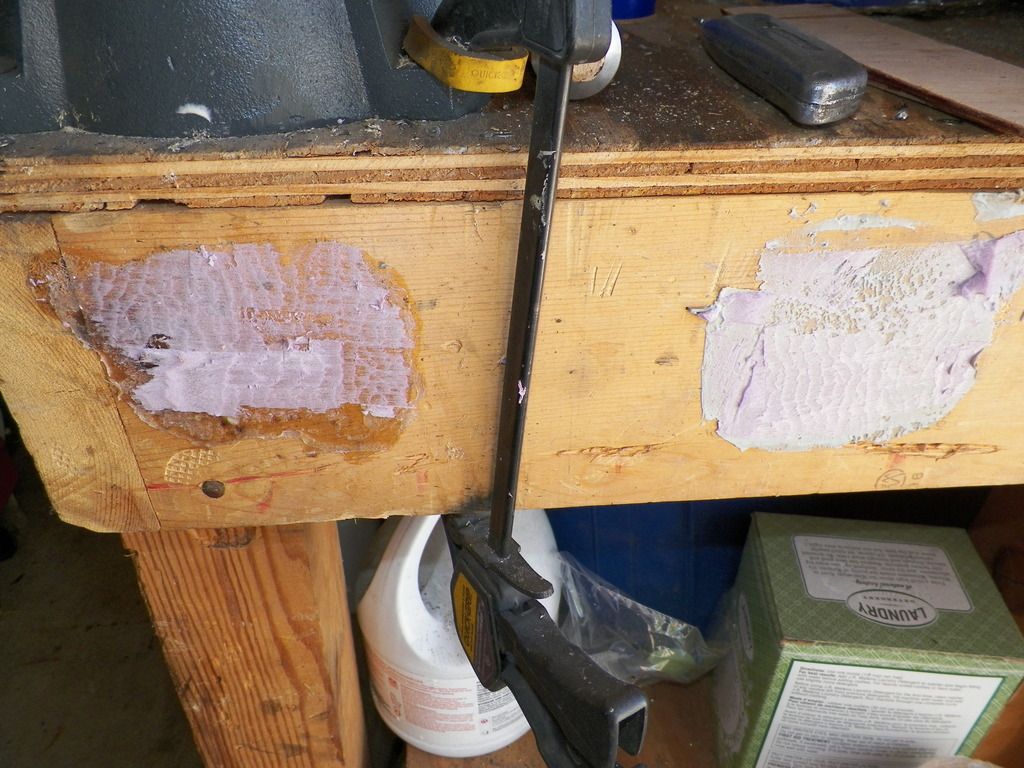
Here are 2 side by side tests of locktite PL300 and locktite Quick grab construction adhesive:
Pieces glued to wood with no clamping force (pressed on my hand and walked away)
Both pieces adhered well, could not be removed by hand, when I used the scraper to peel away the foam, you can see the foam is the failure point not the adhesive.
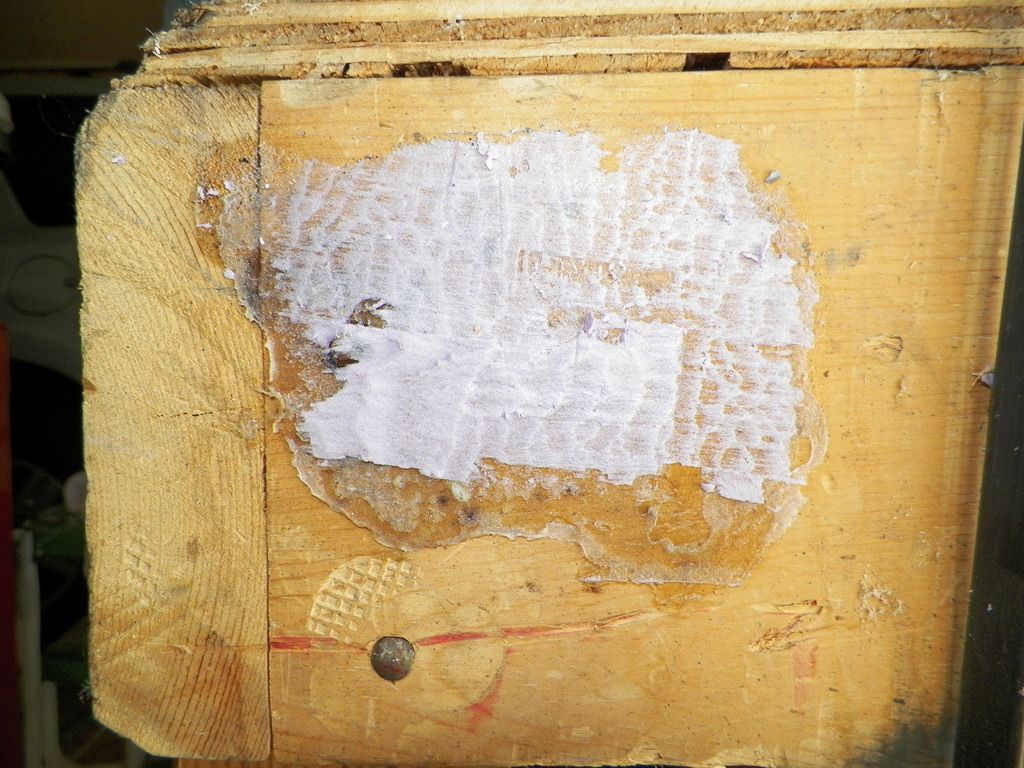
Small area destructive testing:
Side by side:
locktite PL300
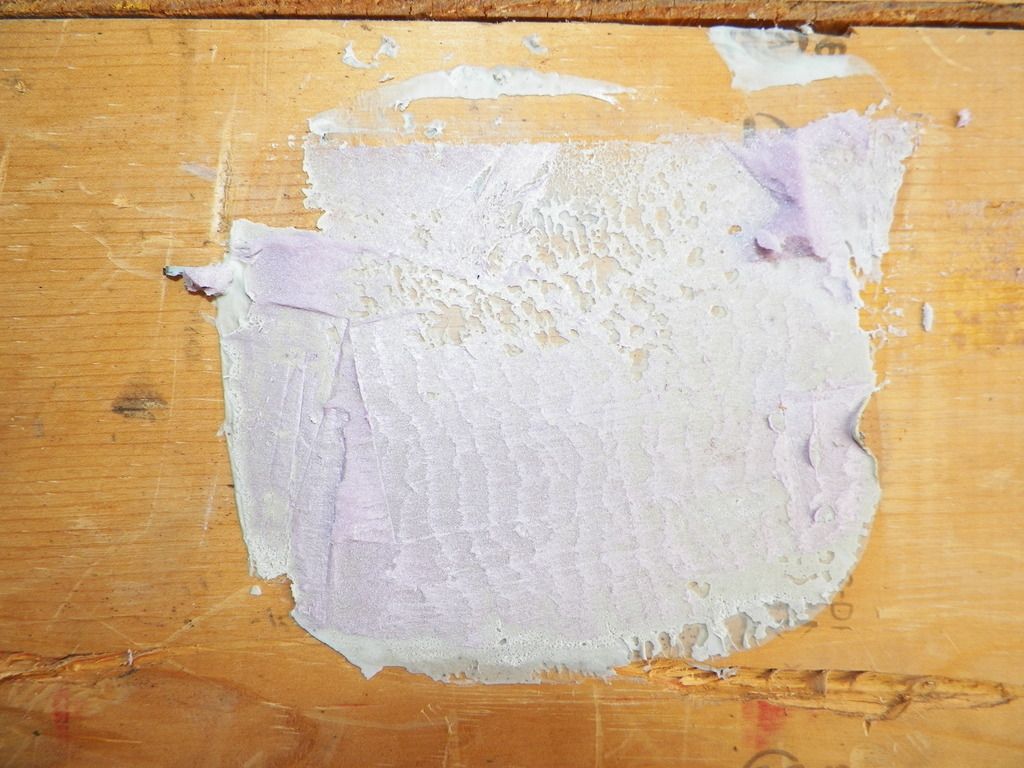
locktite Quick grab
While this was in progress, I talked to a co-worker who is an Airplane builder ( full size aircraft, not RC models) and he suggested Adhesive epoxy for the roof panel… He also got me a deal on some great materials so, bonus!
I then constructed a test panel with (the Luan on both sides of the foam panel) with the Epoxy adhesive. I can tell the results were even better since the epoxy penetrates the wood and makes it even stronger, as opposed to just bonding the foam to the wood.
I was able to stand on the test panel (36 inch span) and it easily supported my weight (190 lbs)
Test panel
Test panel destructive testing, you can see where the panel was not compressed together with the weights I used on my quick testing (just put a 60lb dumbbell on the center…


This showed the need for a strong even clamping force while the epoxy dried.
So, while I work out how to go about building the full size panel, I will try to get some other things completed.
More updates coming…
Views: 130
Comment
HOW TO MEMBER POSTS
JOIN US AT GOOD OLD RVS
If you love classic and vintage RVs then come Join us. Come on in and have some fun. JOIN HERE NOW
Forum
quieter water pump??? 2 Replies
Started by Kit Nix in RV Repair & Maintence. Last reply by Kit Nix Jun 24.
Repairing Curtain Dividers
Started by Kit Nix in RV Repair & Maintence Jun 16.
Untitled 2 Replies
Started by Randall Brink in Vintage & Classic RV Restoration & Purchase. Last reply by Randall Brink Jun 8.
Blog Posts
Still got it
Posted by Steve Robbins on March 31, 2026 at 9:04pm
Skyline Group
Posted by robert & diane creech on November 23, 2024 at 6:30am
1970 Prototype Revcon 240 Needs a new home
Posted by Bonnie Weir on July 13, 2024 at 2:55pm — 2 Comments
1973 Dodge Hall GTC
Posted by Alfonso Vilches on July 7, 2023 at 8:18pm
Events
Videos
-
M25 The Gathering
Added by Daniel Long
-
JOIN US - COME ON IN!
Members Restoration ALBUMS & Stuff We Like
-CLASS C FULL Frame off Restoration by Kevin Crowley
-Kerry Malseed's 1947 Flxible Clipper Bus Restoration
-Kevin's Wildcat Trailer Frame Up Restoration & Materials Used
-Rod Paints His Trailer Before/After Pics
-Understanding Brake Controllers
Blogs, Posts and Other things We like to Follow....
Vintage Travel Trailers, Vintage Campers, Camper Restoration, Bus Conversions, Vintage RV Forums, Old RVs, Tiny Homes, Boondocking
A work of art by member Paige Bridges
+++++++++++++++++++++++++++++
Disclaimer - Please Read it
Enjoy this site and use it totally at your own risk.
By using or viewing this site YOU agree to Hold Harmless anyone associated with it including other members. Also, YOU agree that YOU are solely responsible for ANY and ALL actions, results or damages. Members "opinions" are just that and any repair or alteration comments or recommendations are by folks who are not licensed repair or mechanical professionals. Any repairs or modifications you do totally at YOUR OWN RISK. Use licensed professionals for all work to avoid possible serious injury or damage. Use banks for purchases. Have fun!
Copywrite & Trade Mark Registered GoodOldRV© ,GoodOldRVs©, GoodOldRVs.com©,GoodOldRVs.net©,GoodOldRV.Com©
© 2026 Created by Jimco_W001.
Powered by
![]()
You need to be a member of Good Old RVs to add comments!
Join Good Old RVs